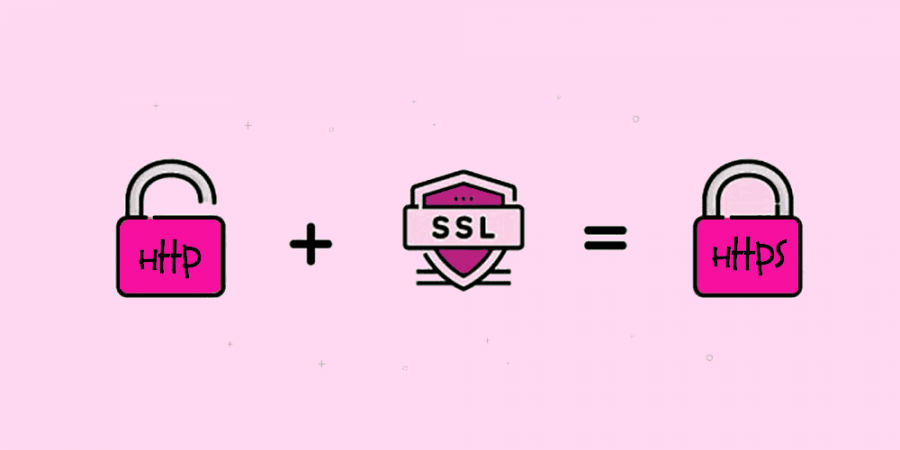
Today, we’re going to talk about the ubiquitous SSL certificate. You’ve probably seen sites with http:// in front of their domain name, and many more sites that have https:// before their domain name. And when the “s” isn’t there, chances are your browser is giving you screaming messages saying the site is insecure, don’t go there, it could be being spoofed by malicious dark forces, blah blah blah OMG YOU’RE GONNA DIE!!!!
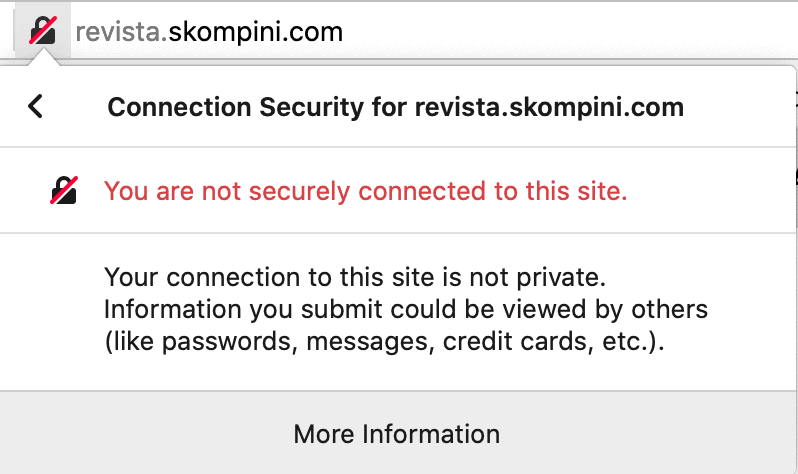

FYI, you’re not going to die.
So what is this anyway? Well, the cause of all this mayhem is whether the site has an SSL certificate installed on it, or not. You may have heard a lot about SSL certificates, or maybe you don’t have a clue what it is.
If you’re here, my guess would be the latter. So let’s answer a couple of pressing questions.
What is an SSL certificate?
At the very basic level, an SSL certificate is a tiny bit of data that connects a secret key to a company’s digital details. When a browser hits that company’s website, the secret key validates that the organization is the one the visitor is expecting to land on, and that the site is legit and secure.
The whole SSL thing started when people began transmitting sensitive data across the interwebs, and naturally, bad people found ways to intercept that sensitive data and use it for evil.
So the supernerds of the world found a way to put a wall around the transmissions from a browser to your website server by adding secret keys known as SSL certificates.
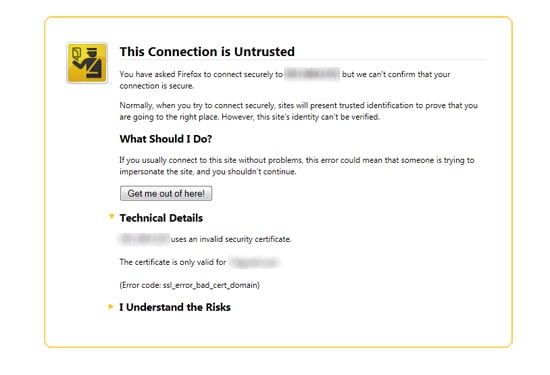
Now, if the company name associated with the certificate doesn’t match the domain name of the website, you will often get messages like this:

or
For websites that don’t ask for any sensitive information, say blogs that just talk about interesting stuff (like this one!), then an SSL certificate really isn’t necessary (but still recommended, and I’ll explain). No one is trying to steal your recipes and sell them on the black market for millions, or create a new identity with them.
But if your site wants to allow logins with passwords, or you are processing payment information directly on your site, or you are encouraging any kind of data input from your visitors that could be valuable to a thief, you definitely want to have an SSL certificate installed on your site.
Why do you need to care?
Well, for websites that actually do transmit and process sensitive information, personal or financial especially, an SSL is a MUST.
It’s necessary to make sure the data is encrypted before it’s transmitted for the highest levels of security, as well as to make sure when the user is entering and transmitting the data, he/she can be sure the data won’t be intercepted by a third party, and/or that it is actually reaching the end company that the user had originally intended. An SSL certificate provides this kind of validate and data security (if you get a really high end one).
But for the 90% of us who are not processing sensitive data on our websites, we still want an SSL cert because it proves that the website the user is on, is actually the website they want to be on.
So, when you come to fledglingonlinebizowners.com, you’re actually here at the site you want to be on, not secretly on viagrabombsalldaylong.com. That’s what the lowest level SSL certificate does (which is all a site like mine needs), is to validate ownership and authenticity.
It’s really about perception.
And luckily, you can get a basic SSL certificate for nothing. Your hosting provider generally offers this service to you for free. If you want more extensive certificates, your provider will likely offer those too, but they generally carry a service fee. Which is fine since they do a lot more than simply validate the ownership of the domain.
So how do you put an SSL certificate on your WordPress website?
1. Get your SSL certificate for your particular domain name at your hosting provider
I’m going to walk you through how I install a basic SSL certificate for a domain at my hosting provider, who is Siteground. Most hosting providers have site tools interfaces that look pretty much the same, so when you go into the control panel of your hosting provider, you should have little problem identifying the same tools as I am going to show you here.
First, log in to your hosting provider, go to the WEBSITES tab, and access their cpanel or Site Tools section.

OR

For cpanel, once you see the page with all the site tools, scroll down to near the bottom where you will see an icon for “Let’s Encrypt”. This is Siteground‘s encryption tool; other providers might use different tools, but you should be able to see something of a similar nature with regards to encryption and SSL in the Security section.

OR for Site Tools, look on the left side of your screen and find Security in the menu. Under that, click on SSL Manager.

Once you are in your Let’s Encrypt area or your SSL Manager area, you will need to choose the domain you want to add the SSL cert to.


OR

Then, for cpanel, click install. For Site Tools, click the drop down under Select SSL to choose the Let’s Encrypt SSL cert, and then click Get.

You should get some confirmation that your SSL cert is being installed.

Now you have an SSL certificate installed on that domain, and therefore the underlying site. Now let’s get it to work in your WordPress site!
2. Change your urls in your WordPress settings panel
Your SSL certificate won’t work unless you change the settings in your WordPress backend, because until you do, your site is still pointing to the http version of the site. So let’s get that fixed!
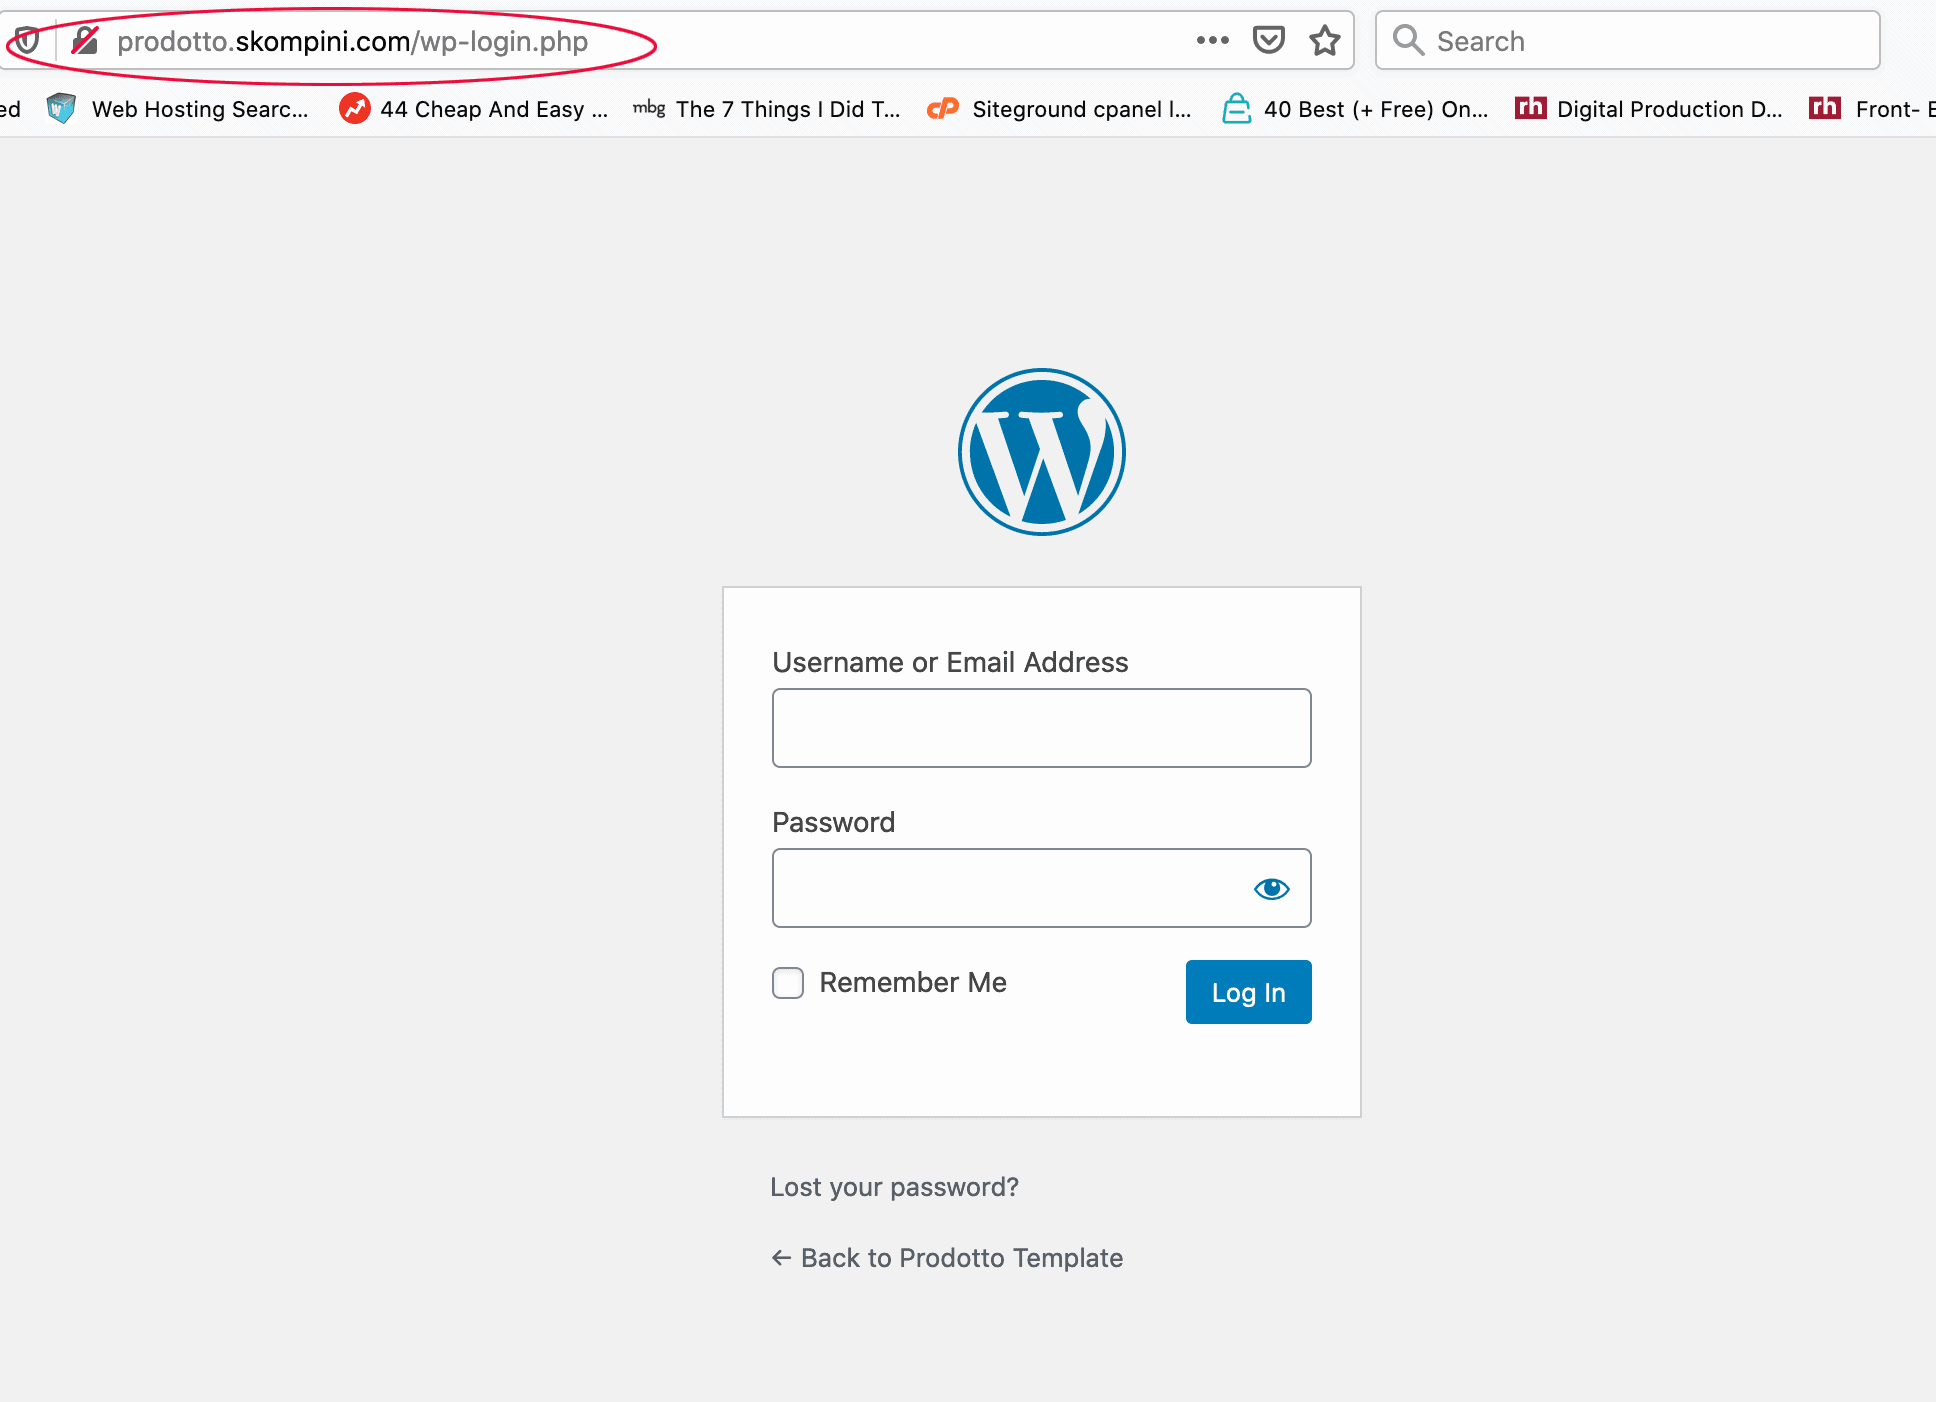
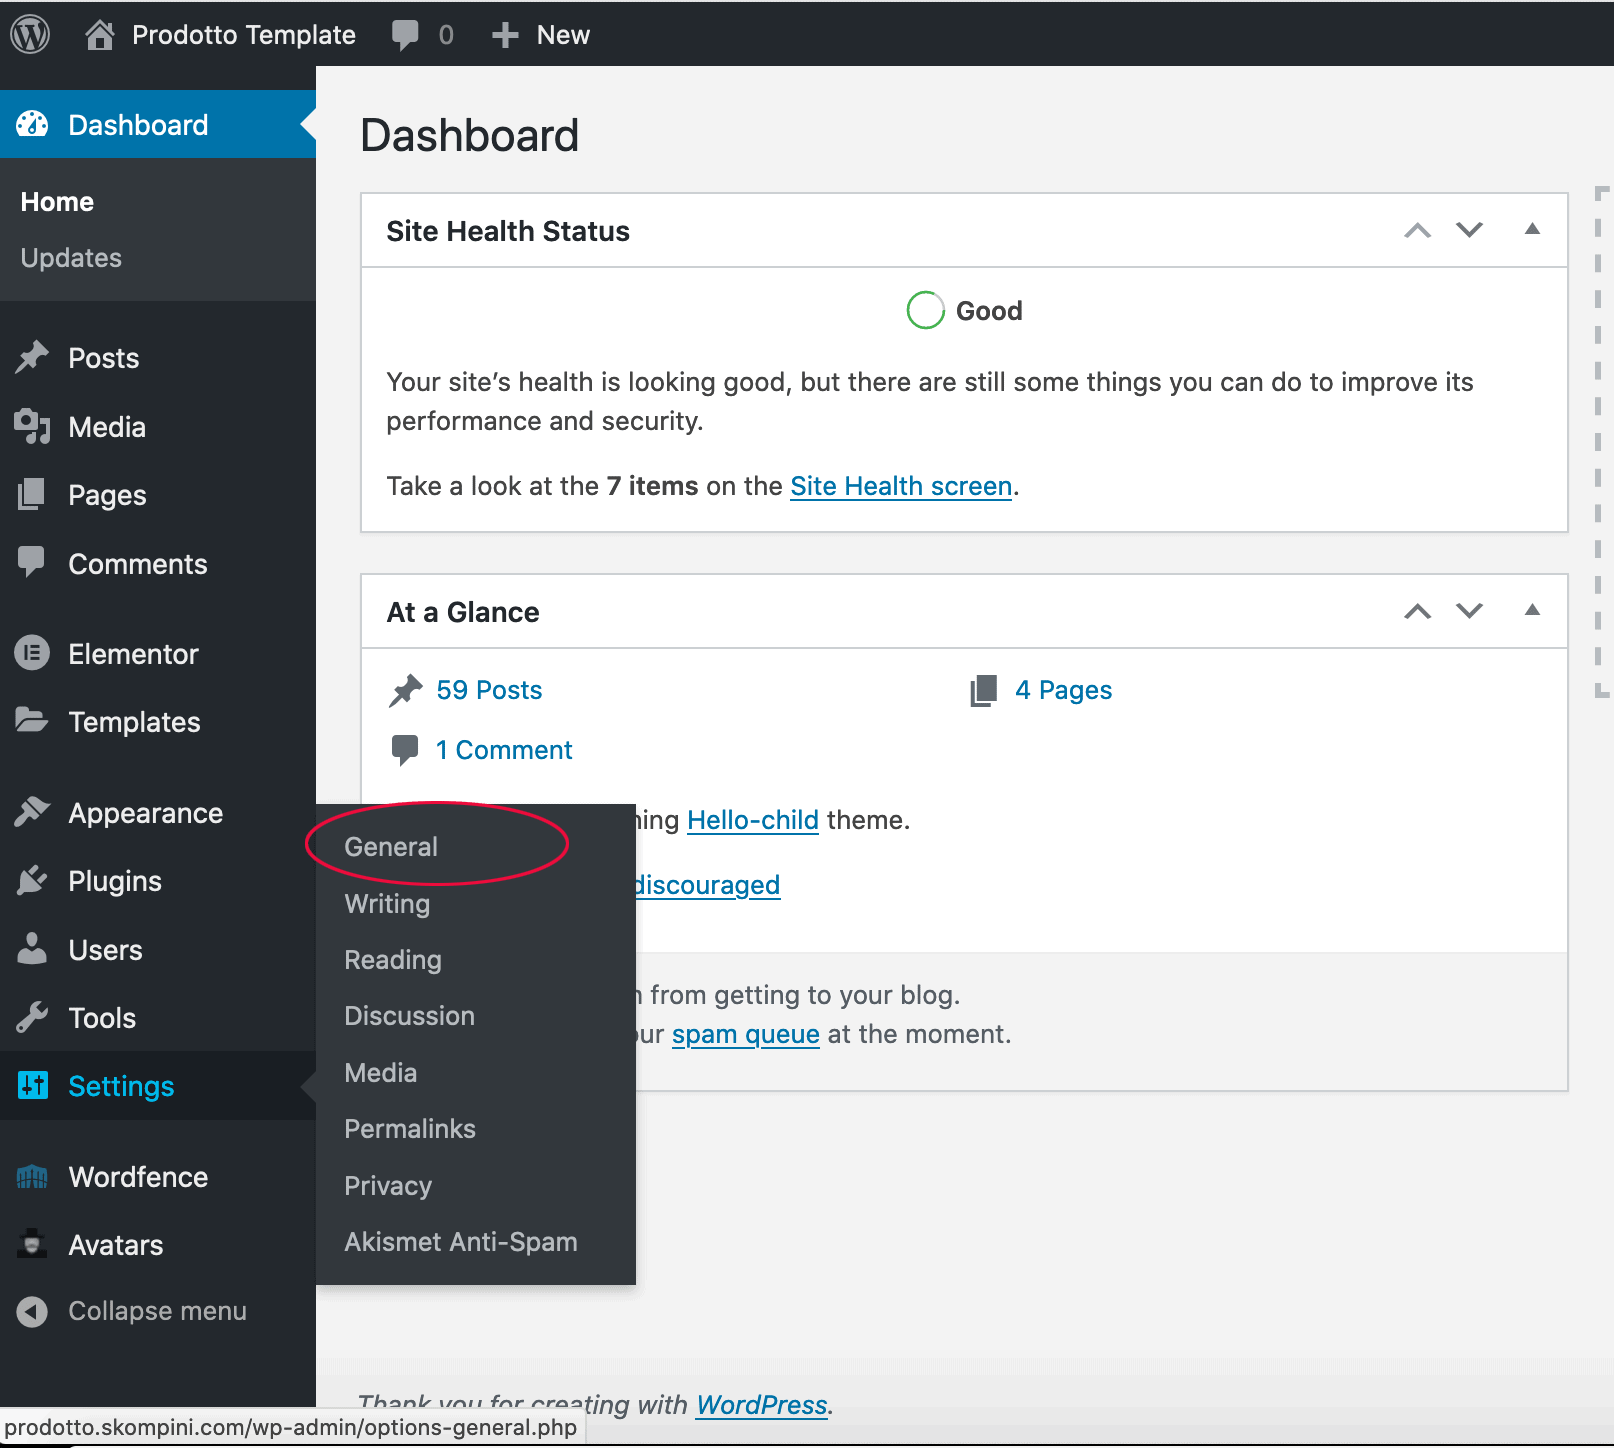
Log into your site. Then, go to Settings>General.
You will see your http:// urls there in the WordPress Address (URL) and the Site Address (URL) sections. Change those to start with https:// instead of http://

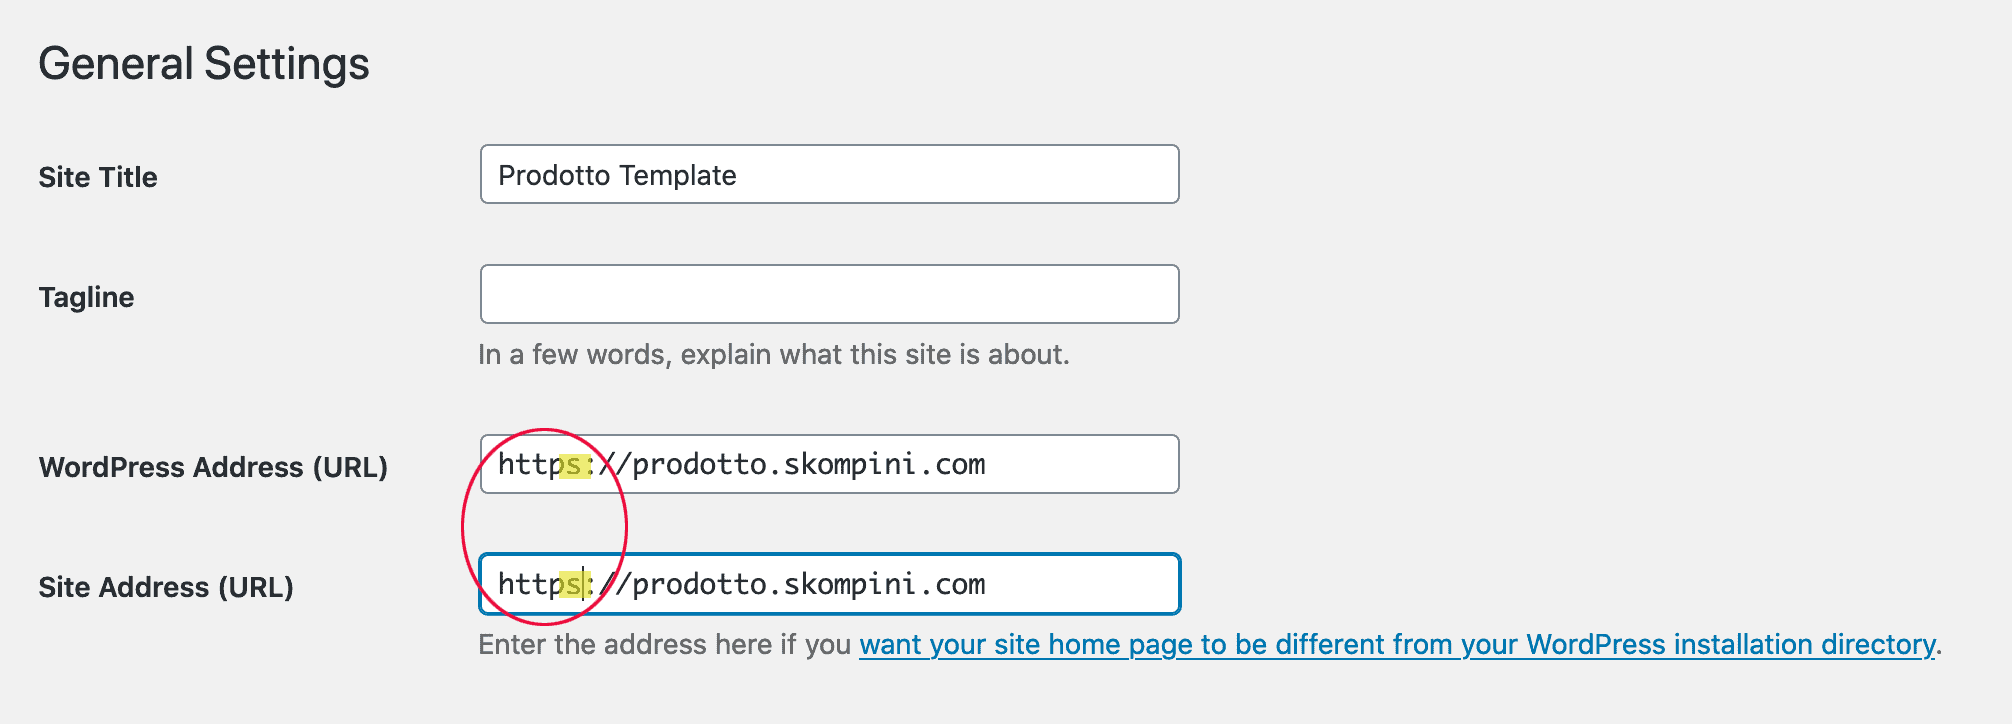
Click SAVE. The system will log you out, since the current login under http:// domain is no longer valid. You should be able to login using the https://yourdomain.com going forward.
3. Check your work!
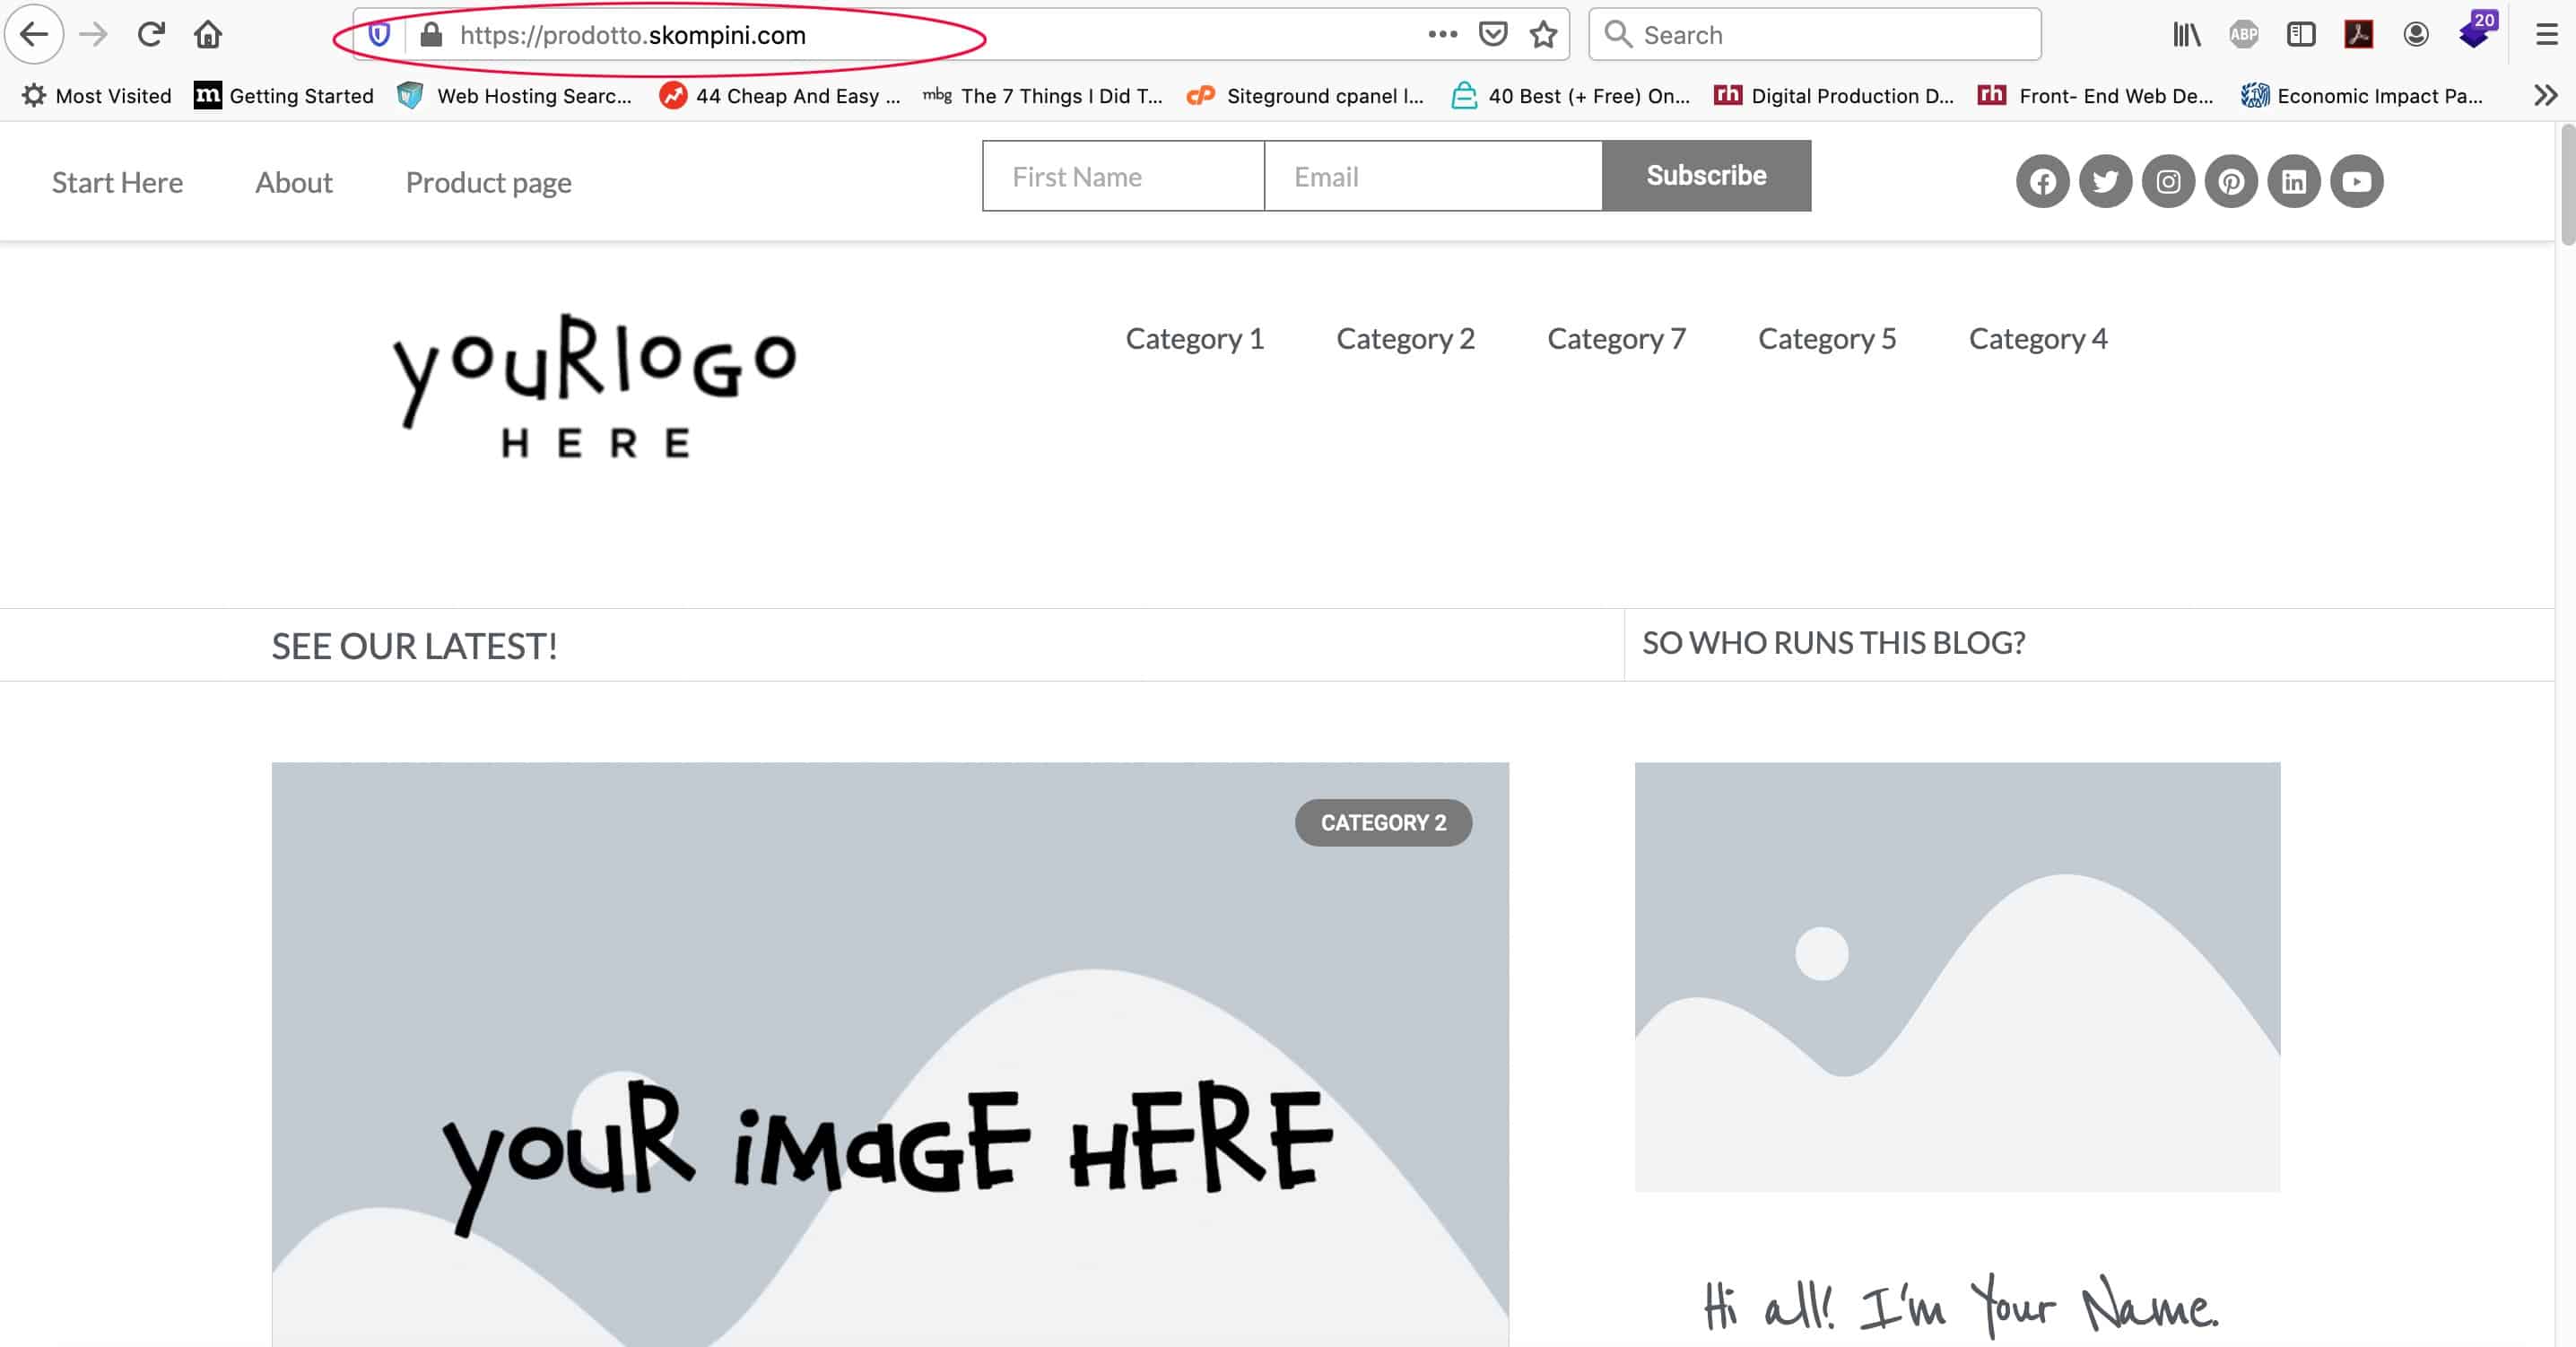
Go to your site. It should automatically show up under https://<yourdomain.com> now. If you do enter in the http version, it should naturally redirect to the https version.
Good luck!

